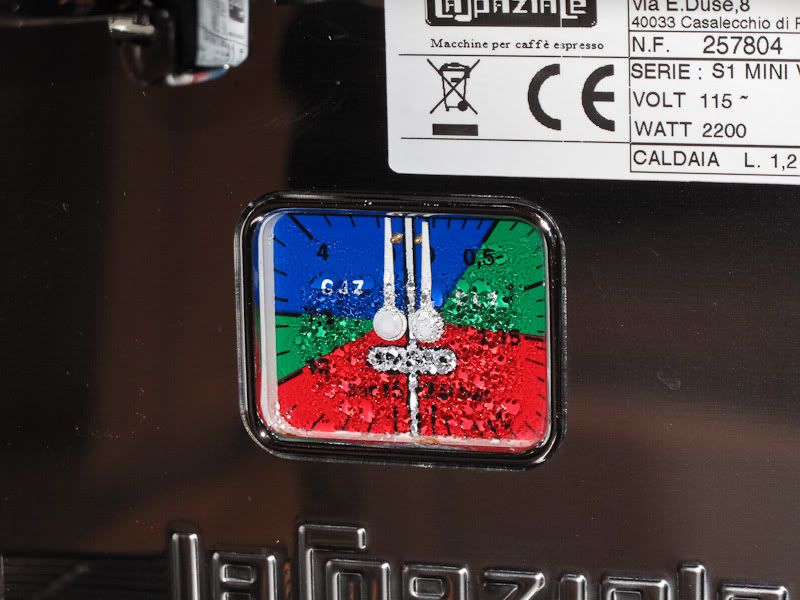
Moisture on inside of quage
-
LDT
Moisture on inside of quage
I got this machine in December and have had a few small issues. I noticed today while shinning a light near the portafilter that the guage had moisture on the inside. Is this a common problem? Anyone else experience this?
-
chas
- Vivaldi Dreamer
- Posts: 3059
- Joined: Wed Jun 02, 2004 11:52 pm
- Location: Central Maryland
- Contact:
Re: Moisture on inside of quage
That's not right. You need to ask for a new gauge. Fortunately, it's a pretty simple swap out. Just two nuts on the back for the two pressure tubes, then a large bolt that holds the gauge to the chassis frame.
Chas
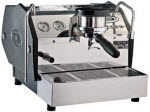
LM GS/3 & LaSpaziale Dream v 1.25 (US 120V)
Mazzer Kony E, Customized Rocky
Hottop P/B
LM GS/3 & LaSpaziale Dream v 1.25 (US 120V)
Mazzer Kony E, Customized Rocky
Hottop P/B
-
LDT
Re: Moisture on inside of quage
Chris Coffee supplied a new pressure guage and told me it would be an easy install. Well, not really.  Here's what happened. On the new machines the line to the group pressure side of the guage is a copper capillary tube which is easy to remove and reinstall. But on the steam pressure side the line pictured below was a bear to remove using a metric open end wrench. Actually the flats on both ends of the fitting were rounded off because as I learned, La Spaziale uses pipe thread compound on this fitting that sets up like glue. That would have worked fine if the guage was not defective.
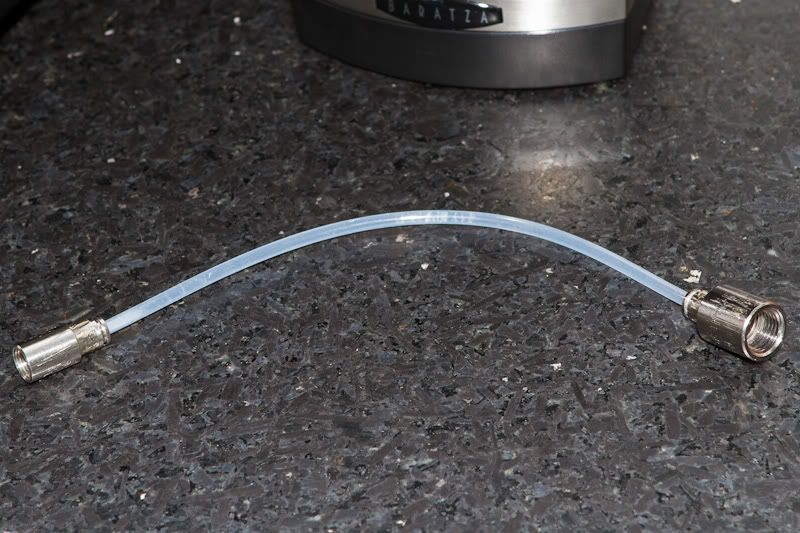
I ended up having to use vise grips to get the fitting off and taking one side and the back off the machine to have some working room. I am now much more familiar with how the machine is dis-assembled and re-assembled. I tried re-assembling of the line by wrapping approximately 6 rounds of teflon tape on the male fittings and could not get a leak-free connection. Chris Coffee supplied a copper capillary tube like the one on the group pressure side and then it was indeed easy to re-connect. Following are some photos prior to final re-assembly showing the new capillary tube installed. I just hope this guage lasts longer than the original one did.
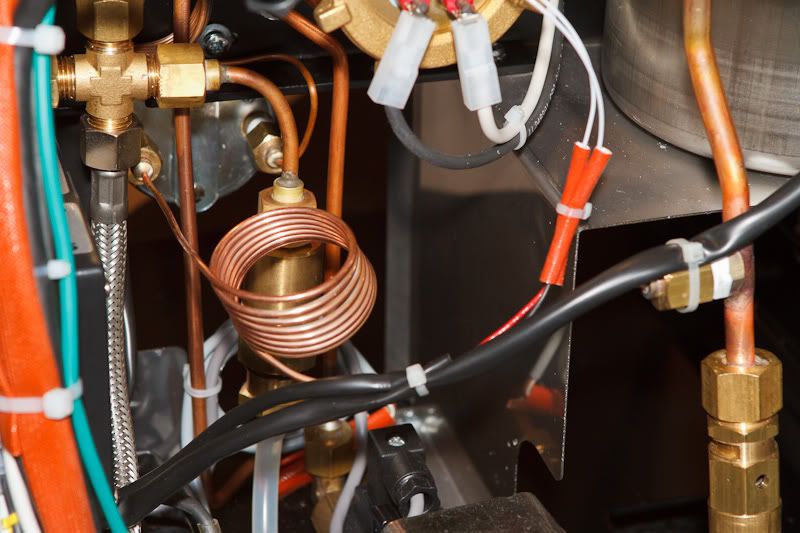
I ended up having to use vise grips to get the fitting off and taking one side and the back off the machine to have some working room. I am now much more familiar with how the machine is dis-assembled and re-assembled. I tried re-assembling of the line by wrapping approximately 6 rounds of teflon tape on the male fittings and could not get a leak-free connection. Chris Coffee supplied a copper capillary tube like the one on the group pressure side and then it was indeed easy to re-connect. Following are some photos prior to final re-assembly showing the new capillary tube installed. I just hope this guage lasts longer than the original one did.

Re: Moisture on inside of quage
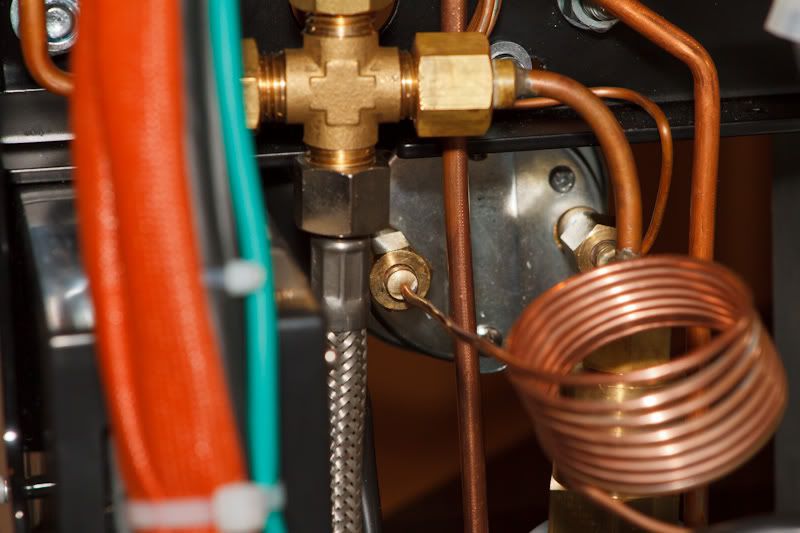
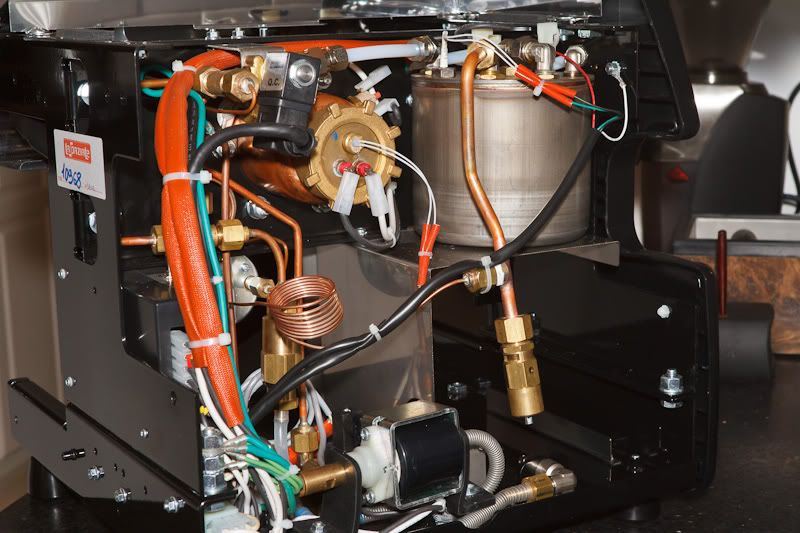
Good stuff, you are back to normal now. I noticed one interesting thing on your last picture - the brew boiler on these latest models seems to be insulated with something orange - is that the case?
BTW, last time I opened the machine from the back, I insulated both boilers. Benefits are minor (unless machine is on 24/7), but it is so easy to do. Here is a picture.
BTW, last time I opened the machine from the back, I insulated both boilers. Benefits are minor (unless machine is on 24/7), but it is so easy to do. Here is a picture.
- Attachments
-
- IMG_0001.JPG (214.43 KiB) Viewed 8381 times
-
Endo
Re: Moisture on inside of quage
The new machines no longer have a nickel plated brew boiler. What you see is the natural copper colour.GDK wrote: I noticed one interesting thing on your last picture - the brew boiler on these latest models seems to be insulated with something orange - is that the case?